Making the Cherry Blossom Andon
 Selecting Glass for the Background
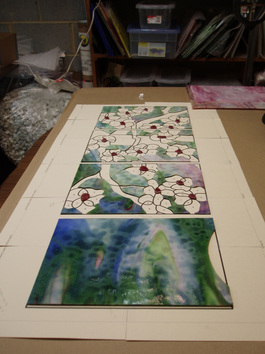
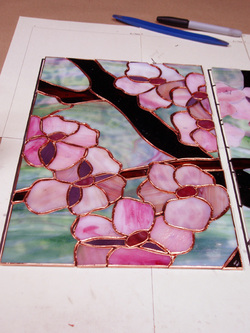
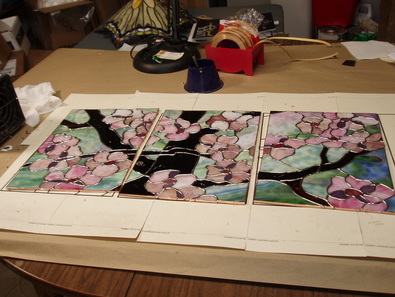
The design for this andon was inspired by the beautiful blossoms of spring and was designed using a computer. Copies of the design were printed out to make the pattern (cartoon) and pattern pieces. When the pattern is laid out and the paper pattern pieces have been cut, it’s time to select the glass. Here you can see further in the process. The cut pieces of the background glass have been laid out on the pattern.
Selecting the glass for the background is a critical decision that shapes every glass choice that follows. This is Youghiogheny glass, which has a beautiful flow of color that suggests flowers and leaves in the background. This sheet of glass has a dynamic energy that creates movement in the piece. I selected a continuous sheet that would flow around the andon. The solid piece for the back panel was the most exciting section of the sheet and can stand alone. Notice that the back panel has a curved cut out. This will vent heat out of the andon when it is lit.
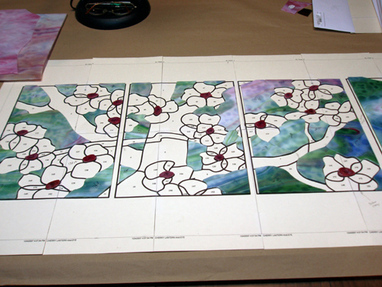
Background Glass Layout
 Glass is Cut and Fitted to the Pattern
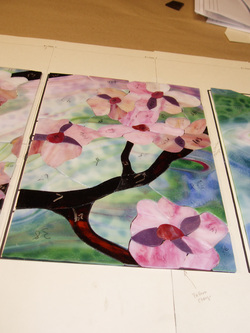
Next, the glass for the flower petals is considered with shading in mind. Sections of different shades are selected for each flower. Uroboros and Youghiogheny glass was chosen to create a play of light on the petals. A light table is used to view the pieces of glass with light coming through. As the cutting progresses, many pieces need to be re-cut due to breakage and changes in color choice.
Then the glass for the tree trunk and branches was selected. Wissmach glass was selected for the swirling dark brown lines that suggest tree bark. The pattern pieces were placed around several large sheets of glass to find just the right movement of color and texture.
After cutting, each piece is laid on the pattern and adjusted for a close fit.
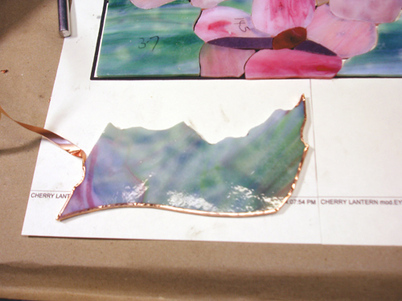
 Each Piece is Wrapped in Copper Foil
A thin layer of copper foil is applied to the edges of each piece and returned to the pattern.
Copper Foiling
 Copper Foiled Flowers Copper Foiled Flowers
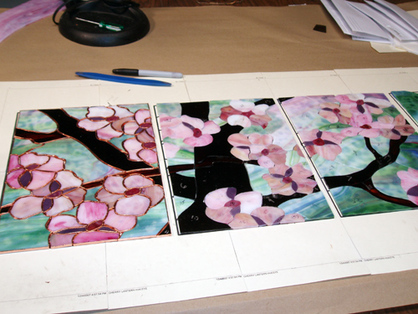
Foiled pieces are carefully placed back on the pattern. 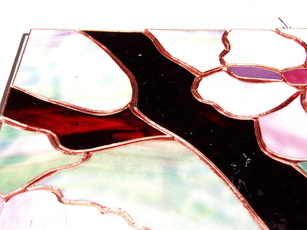 Checking the fit after copper foiling Checking the fit after copper foiling
The Foiling and fitting continues until all the pieces are in place. |
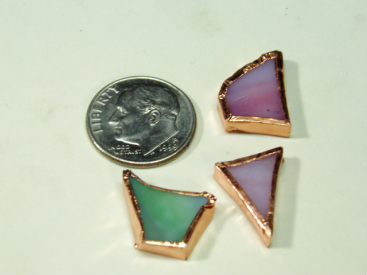
Tiny Copper Foiled Pieces
 Foiled Pieces of Stained Glass Foiled Pieces of Stained Glass
|
 Soldered Panels
Each of the panels is then soldered and cleaned.
The edges of each panel are wrapped in copper foil.
 Opening the Copper Came
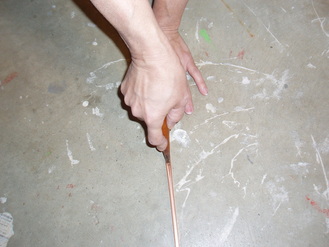
Copper came is opened to 45 degrees with a fid.
This will form the corners of the andon.
The four sides are then tacked or taped together to form the light box.
 Fitting the Glass Box to the Base.
Duct Tape Holds Panels Together Fitting the Glass Box to the Base.
Duct Tape Holds Panels Together
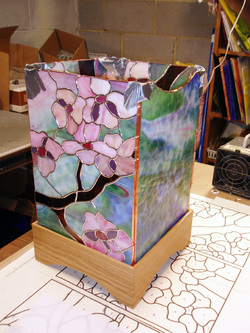
The box is tack soldered or taped and fitted to the box bottom to make sure it fits. Tiny adjustments can be made to the box if necessary. Then the copper corners are fitted and soldered. 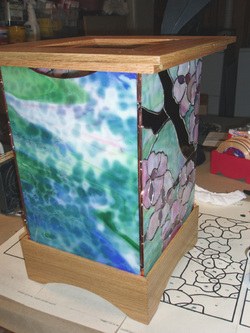 Checking the Fit of the Andon Lid Checking the Fit of the Andon Lid
The lid is checked for correct fit 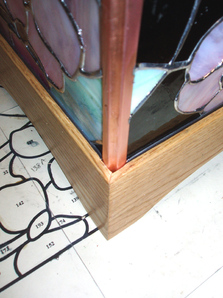 Fitting the Corners Fitting the Corners
The copper came is fitted and soldered to the corners at each solder joint on the panels and to the copper foil on the back panel 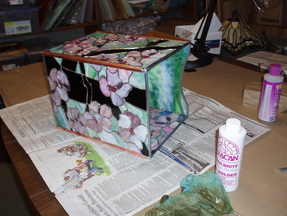 Patination Patination
Copper corners are soldered on. A lead edge is soldered to the top and bottom of the box. Patina is applied to the outside and inside of the box. It is then carefully cleaned and waxed. |
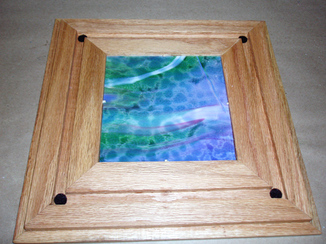 Fitting Glass Inside the Lid Fitting Glass Inside the Lid
A selected piece of glass is cut and fitted inside the lid and secured with tiny wood dowels |
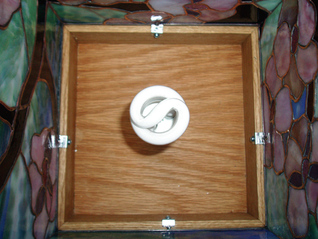
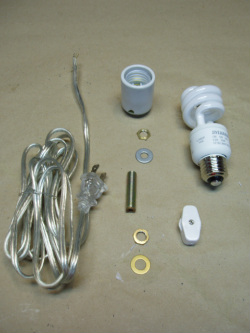 Wiring Parts Wiring Parts
|
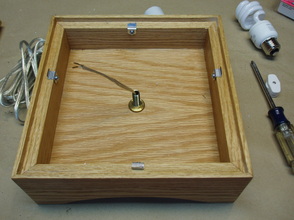 Wiring and Clips Wiring and Clips
Clips are screwed into the oak base at points that will meet solder lines of the andon. Wiring is done before the stained glass is attached. |
 Attaching Glass to Clips Attaching Glass to Clips
Clips are soldered to the seams on the inside of the andon. |
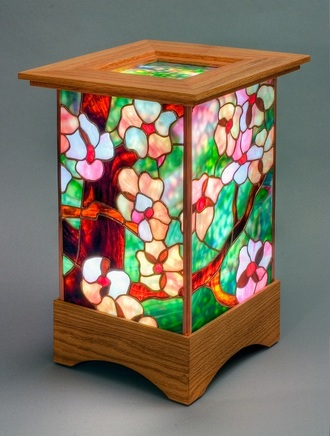
Cherry Blossom Andon
by Jo Perez